The ultimate checklist for hiring a studio synth player
Say you’re producing a band’s album and you’re bringing in a new synth player to record some overdubs on it. Or perhaps you’re working with a solo artist to demo some tracks and they want a synth player there to help write the songs. Having someone who knows their way around synthesizers present at a session can be a great way of adding great sounds and textures to a record. But how do you properly prepare to work with them and to facilitate the recording process?
In this article I’ll talk about some key tips you can use to do just that! I’ll cover topics ranging from logistical preparation to technical details in the actual recording of the instrument. Let’s get into it!

Preparation
Choosing a session musician
Before committing to working with a new synth player (or any new musician, for that matter), it’s always a good idea to learn more about them in advance. What genres and styles of music do they tend to play? What particular talents and strengths can they bring to the session? Are they a pro, a hobbyist, somewhere in between? Do they have past credits on other music that you can listen to?
If you have the time, do some research to find out this info. Ask other producers and musicians in your network if they’ve worked with this person before and what they’re like. If they have a website or a presence on social media, take a look there to see what you can find - you might also be able to discover examples of their past work this way.
Set out the goals of the session in advance
Once you’ve decided on a specific musician, start planning for the actual session itself. From a musician’s point of view, knowing the goals of the recording session ahead of time can make things easier to prepare for. Will it be a straightforward session of overdubbing some pads onto a few songs, maybe adding some synth lead melodies and solos here and there? Or are you diving head first into the ocean of sound design exploration to find bleeps and bloops that will make you feel like you’re in outer space? If you have any reference songs for tones, let them know!
Knowing the goals before coming into the session can help synth players prepare by picking out the right instruments for the job and also coming in with the right mindset. Of course, this doesn’t mean you can’t spend some time experimenting, but if efficiency is the goal, planning is the name of the game.
Session Specifics
Let’s get down into some of the nitty gritty of what can help during the session itself!
Gear
One of the first things that you’ll want to get sorted with the synth player is what gear is available at the studio and what gear they should bring to the session. Does the studio already have a wall of vintage synths ripe for the plucking? Or is the session player expected to bring their own gear? Perhaps a mix of both?
In any case, this step will go hand in hand with determining the goals of the session. If we go back to the example of recording some straightforward pads, synth basses or leads, you probably won’t want them to bring their whole modular system that makes ambient generative patches. Analog and subtractive synths will probably be more appropriate for that job. On the flipside, if you’re trying to get really abrasive, metallic and harsh tones for an experimental industrial album, you may want to try synthesizers that can produce more complex tones, such as an FM synth like the Yamaha DX7 or a wavetable synthesizer.
Effects
Another point to touch on is the topic of effects. In this realm, synthesizers are not created equal. If you’re planning to record your audio tracks wet rather than dry, talk to your synth player about this ahead of time.
Synthesizers run the gamut from having absolutely zero onboard effects to multiple kinds. Some, like the Micro and Minimoog are completely dry, while the Moog Matriarch has stereo delay. In my experience, digital synths are more likely to have onboard effects: the Roland GAIA SH-01 and Arturia MiniFreak both have multiple effects like distortion, phaser, flanger, delay, and reverb. But this isn’t always the case, as the latter’s little sibling, the Arturia MicroFreak, is completely dry.

The Korg MInilogue XD is a synth that has multiple onboard effects, such as choruses, reverbs, and delays.
If you know most of the synths are not going to have onboard effects, you may want to ask the synth player to bring some effect pedals or units, or to have some available at the studio. Of course, if you’re planning applying effects using plugins, you can simply record the synths dry.
Limitations
It’s good to be aware of or to at least expect to run into some limitations when working with synthesizers, especially vintage ones. Like any other instrument, they have their quirks and idiosyncrasies, and can be finicky in their own particular way.
One of the most common things with many analog synthesizers is that they need to be tuned! Having a tuner pedal or plugin will come in handy for this. Many analog synths will get affected by the surrounding temperature, and it’s a good idea to check their tuning regularly throughout the session.
Many synthesizers made around or before the 1980s do not have MIDI, because it simply didn’t exist or wasn’t standardized at the time those synths were in production. This includes a lot of classics like the aforementioned Minimoog and Micromoog, for example. If you’re hoping to run MIDI signals into a synth, make sure the one you’ve got has MIDI capability!

The Micromoog is a prime example of nearly all the limitations discussed in this section:
It does not have MIDI capability. It’s a monosynth, so it can only play one voice (one note) at a time. And it’s a vintage analog synth, so it needs to be tuned from time to time! Despite all these things, it’s still a great sounding instrument.
One of the more important factors that may come up during a session is polyphony: the number of voices the synthesizer can play simultaneously. Again, this is an issue that will mostly affect analog synths, but even some digital synths may not have high polyphony. Most affordable analog synths will have a fairly low range of polyphony, ranging from one voice for monosynths to something like four voices for a synth like the Korg Minilogue. If you want to play big lush chords, consider some workarounds like using a digital synth with lots of polyphony or layering multiple takes. Or you can see if something like a Juno or Prophet is available to you!
Multiple inputs: more is always better!
For producers or engineers that get regular work in bigger studios, this might seem like a no brainer; if you’re in a smaller home or bedroom studio, it might not be as obvious. That said, it’s very important and helpful for synth players to have many audio inputs available. Here are some reasons why.
While you should at the very least have two inputs available so you can record in stereo (many, many keyboards including many synthesizers have stereo outputs), having even more can be super beneficial. Let’s talk about a real world example for a second.
Let’s say I’m brought into a session to record synth overdubs on someone’s music. My current go-to setup looks something like this: one analog mono synth like a Moog Sub Phatty or Arturia Minibrute to record nice leads or bass sounds; a polysynth like the Korg Minilogue XD as a general workhorse synth for pads, plucks, synth strings, etc., and an experimental synth like the Arturia MicroFreak for wacky out of the box noises and sound effects. Those three boards take up four inputs all together.

Here’s a picture of me at a session with the setup in question! A monosynth, a polysynth, and a wacky synth.
To keep the flow of the session going smoothly, I like to be able to have all three of these keyboards setup and plugged in, ready to record simultaneously. If we reach a song where the producer and artist may not have a clear vision for the synth part, I can quickly experiment, hopping from one synth to the next. If there’s only one or two inputs available, I’d need to take the time to unplug and replug the synths in order to try them out. These small interruptions can get in the way of creative flow and slow down the session.
That said, there are some synthesizers that have more than the standard mono or stereo outputs. Some instruments like the Nord Lead 2X have four outputs. And when playing a layered patch, each output can be assigned to one of the voices or layers. Or for another example, the Yamaha TG77 rack unit has 8 outputs! Wow!
In this scenario, having multiple inputs means that you can capture the different parts or timbres of the synthesizer into individual tracks. This gives you more control later on while mixing and arranging than you would get if you only captured a mixdown of all the different layered sounds. This is a pretty specific scenario, but you never know what can happen!
MIDI and CV
MIDI
Be equipped to hook up the synths to your DAW with MIDI, not just audio! There are a lot of advantages that can come from recording MIDI during a session. Perhaps the most obvious one is that you can clean up little mistakes and blips in a performance and run that back through the synth to record a clean audio take. Or, if later on you decide you’re not happy with the tone recorded during the session, you’ll have the MIDI data necessary to easily swap sounds.
That said, you can also experiment with recording parameter movements too. Most synthesizers that have MIDI will send MIDI control signals when you turn knobs or adjust faders. For example, if I hold down a chord and turn the filter cutoff knob to do a filter sweep, the MIDI recorded from that performance will include the MIDI messages from the filter cutoff knob.

My station at a session day while at Union Sound recording keyboard tracks for Alex Southey (yep, the chocolate milk was essential!). Although you can’t see it from this angle, my Minilogue XD was hooked up to MIDI, allowing him and his producer/engineer Alex Gamble more flexibility later on in sculpting the keyboard parts.
You can then experiment in fun ways by first recording a clean MIDI take with little or no parameter movements. Aterwards, record a MIDI take where the player is only adjusting parameters like the filter, the waveshape, or the LFO in order to transform the sound of the synth over time while the notes are being fed through it.
Finally, if you want to dive even deeper with MIDI, you can try things like syncing the synth’s MIDI clock to your DAW. This can let you do things like making sure the LFOs or the sequencer is synced to the song’s tempo to get more musical rhythms.
CV (Control Voltage)
I should briefly touch on CV. In a standard studio session, it’s unlikely that you’ll use control voltage when recording synth tracks, especially if you’re doing fairly normal overdubs. But, it’s worth noting whether your synthesizers are capable of receiving and sending CV and in what capacity, in case you want to experiment with these features. As modular synths start to resurge in popularity, lots of manufacturers like Cr8audio are releasing semi-modular synths like the East Beast and West Pest. Moog has also released a few in recent years like the Moog Matriarch, Grandmother, and Subharmonicon. Even decidedly non-modular synthesizers like the Moog SubPhatty, Prophet 5 Rev 4 and Arturia Microfreak feature some limited CV connectivity.
On the chance you have the time and budget to explore and get experimental during your session, it’s worth taking a look to see just how interconnected you can get your synths to be!
Some final thoughts
Plan for extra time
Synth programming and sound design are a lot of fun, and are some of my favourite parts about recording synth tracks, but it can also be time consuming. With that in mind, it’s a good idea to plan for a little bit of extra time to find the right tones during the session.
A good synth programmer should be able to dial in nice sounds fairly quickly, but a bit of buffer time will go a long way. Depending on the gear they’re using, programming the right sound can simply take longer than expected. Many analog synths are nearly knob per function, but many of them also have obscure but useful sub-functions that might need to be found in the manual. Other synths like the Korg Microkorg don’t have many knobs and force you to do some menu diving to make adjustments.

The Korg Microkorg only has seven knobs to access all its parameters, meaning the user must dive through menus to make changes.
Photo by Ashley Pomeroy. See license here.
The type of synthesizer can also affect how easy it is to program. Analog style or subtractive synthesizers are very intuitive when it comes to designing patches. However, some keyboards might use other types of synthesis, such as FM (Frequency Modulation) synthesis. This is a much less intuitive type of sound synthesis and tends to require more thought and planning.
In this aspect, synthesizers like the Yamaha DX7 really combine the worst of both worlds. That’s right, I said the worst. Not only is the interface composed of a bunch of buttons and a single data slider (just one slider!), but the DX7 uses FM synthesis. So, while extremely powerful and capable of some of the most legendary and classic synthesizer sounds, it also means the DX7 is a bit more of a pain in the neck to program.
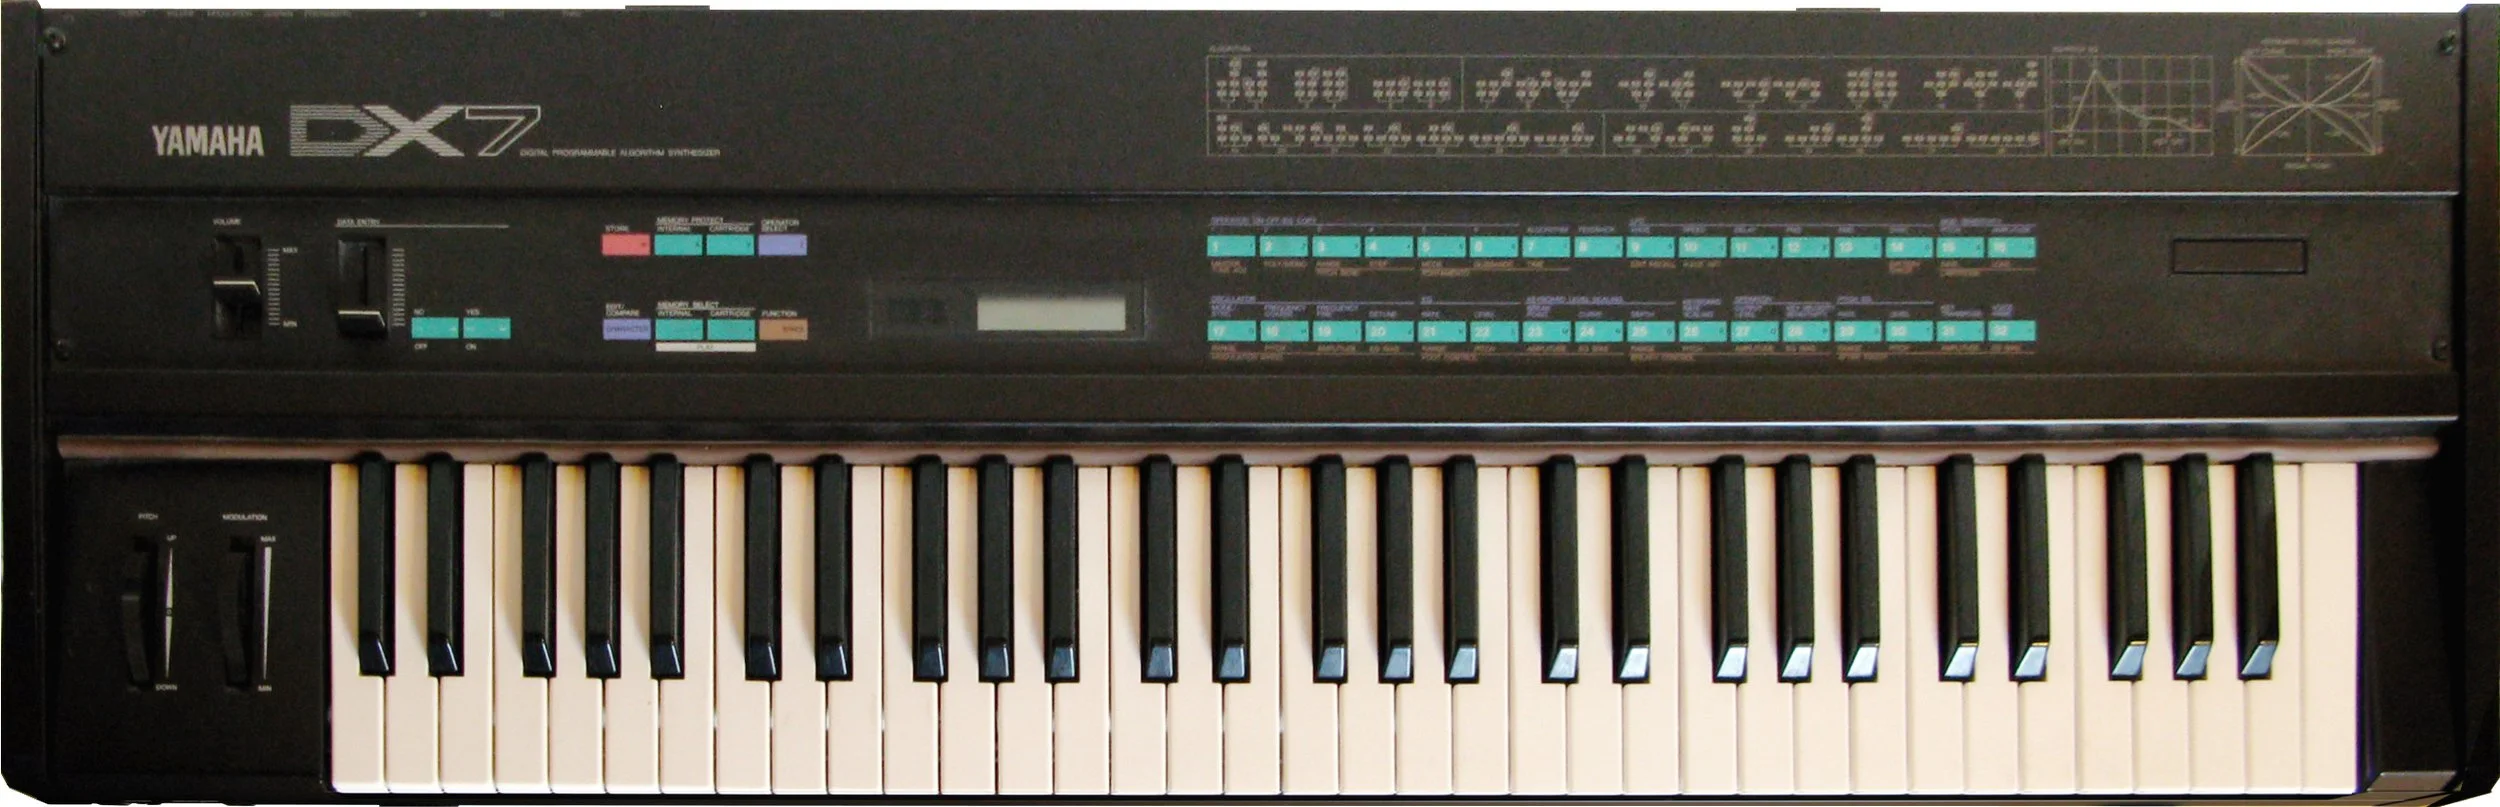
A Yamaha DX7. Photo by Leo-setä. See license here.
Keep these things in mind if your synth player is searching for the right sound - a little patience goes a long way!
Conclusion
All in all, some key points to take away when bringing in a synth player for a studio session is to plan and communicate the goals of the session early on. This will help them to prepare by picking out the right gear. And second, try to have a good amount of resources during the session itself, meaning the amount of time, audio connections, and ability to connect through MIDI. This will give you the most flexibility to experiment efficiently when you need to do so.
Once again, bringing in a synth player is a great way to add interesting sounds and effects to the music you’re working on. I hope the tips in this article will help set you on your way to a smooth and successful synth recording session!
